info@edesiakbs.com
 781.238.8800

Springtime is the perfect time to get your kitchen sparkling clean, even the spaces you rarely see or think about. The kitchen is where cleanliness matters most, and also where the most messes are made. From spilled sauces to aerated cooking grease, a yearly spring cleaning is exactly what the heart of your home needs, and springtime is the perfect time to do it.

At Edesia, we know all about what it takes to make a kitchen feel fresh and new. Whether you have remodeled to create the perfect kitchen or are just embracing the springtime energy, here's how to rock your kitchen spring cleaning this year.
1) Throw Open the Windows
First, open the windows. Roll up the blinds and welcome in the sunshine. If the weather is that perfect middle-temperature, you can even switch the AC to fan-only and open the glass and welcome the springitme breeze. Opening the windows provides a breath of fresh air through your kitchen, carrying away the staleness of being closed up all winter. It can also be helpful in chasing away the mild fumes from your cleaning supplies, whether you use natural vinegar or traditional cleaning solutions in your kitchen.
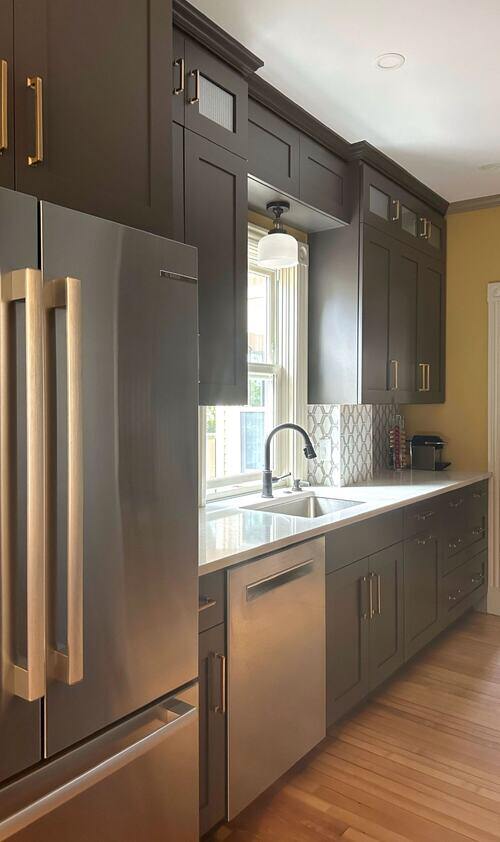
2) Chase the Dust from the Upper Spaces
Always start at the top. For many kitchens, that means dusting upper areas above the cabinets where massive dust bunnies collect over time. Get a ladder and a dust mop (or wrap a towel around your broom/swiffer) to knock the dust down. If you're tall or agile, you can also get up into that space to wipe every corner carefully, but always wear a bandana or facemask to do this, as you don't want dust in your nostrils.
Don't worry about knocking down all that dust into your kitchen. Cleaning down means you'll get every scrap of dust as you clean the rest of the kitchen.
3) Scrub Your Cabinet Doors and Exteriors
Continuing downward, get your surface cleaner and address your cabinet exteriors. Wipe the dust along with splashes, grease, and old spills off the outside of your cabinet doors and any cabinet exterior sides that you can reach.
When you finish with the upper cabinets, wipe down your countertop again to remove any dropped dust or flecks.
Hint: If there are narrow spaces between cabinet and appliance, try using a swiffer laid flat, or a rag tied to a broom handle to dust and wipe the space.
4) Empty Cabinets and Replace Shelf Liners
Now empty out your cabinets onto the counter, island, or a fold-out card table. When each cabinet is empty, wipe down the inside with surface cleaner and remove all old dust or crumbs that may reside there.
If you have cabinet shelf liners, now is a good time to clean them or replace them. Tray or plastic liners can be run through the dishwasher and put back, while stick-on shelf liners can usually be peeled up and replaced with same-size vinyl sheets.
When your cabinets are clean, carefully replace everything and use this as an opportunity to reinstate your preferred cabinet orgnaization method. You can even implement a few trays, labels, or lines of tape to keep things tidy through the rest of the year.
5) Wipe Down Your Refrigerator
Once you're done with the cabinets, move on to your fridge. Empty each shelf onto the counters and clean it from top to bottom. Most fridges have shelves and drawers that can be removed. So if there are any bad spills, you can set the shelves to soak or scrub them from a better angle by doing so.
--
[Continued in Part 2]