info@edesiakbs.com
 781.238.8800
Installing cabinetry is not as difficult as one would imagine, although it will take longer than they show on tv remodeling shows! With the proper tools, preparation and the instructions below, a kitchen can be installed over a long weekend.
1. Check your Cabinetry:
Before starting, all cabinets should be checked for concealed damage. If the corners were properly protected, and the cabinets were either shrink wrapped or in cardboard, there shouldn't be damage. Notify your kitchen designer immediately if you are missing any cabinetry, or if there is damage. She/he can get started on correcting any issues while you begin the installation. Make sure the current floor plan and elevations are on site. Many times contractors are looking for a cabinet that wasn't ordered because they have an old plan.

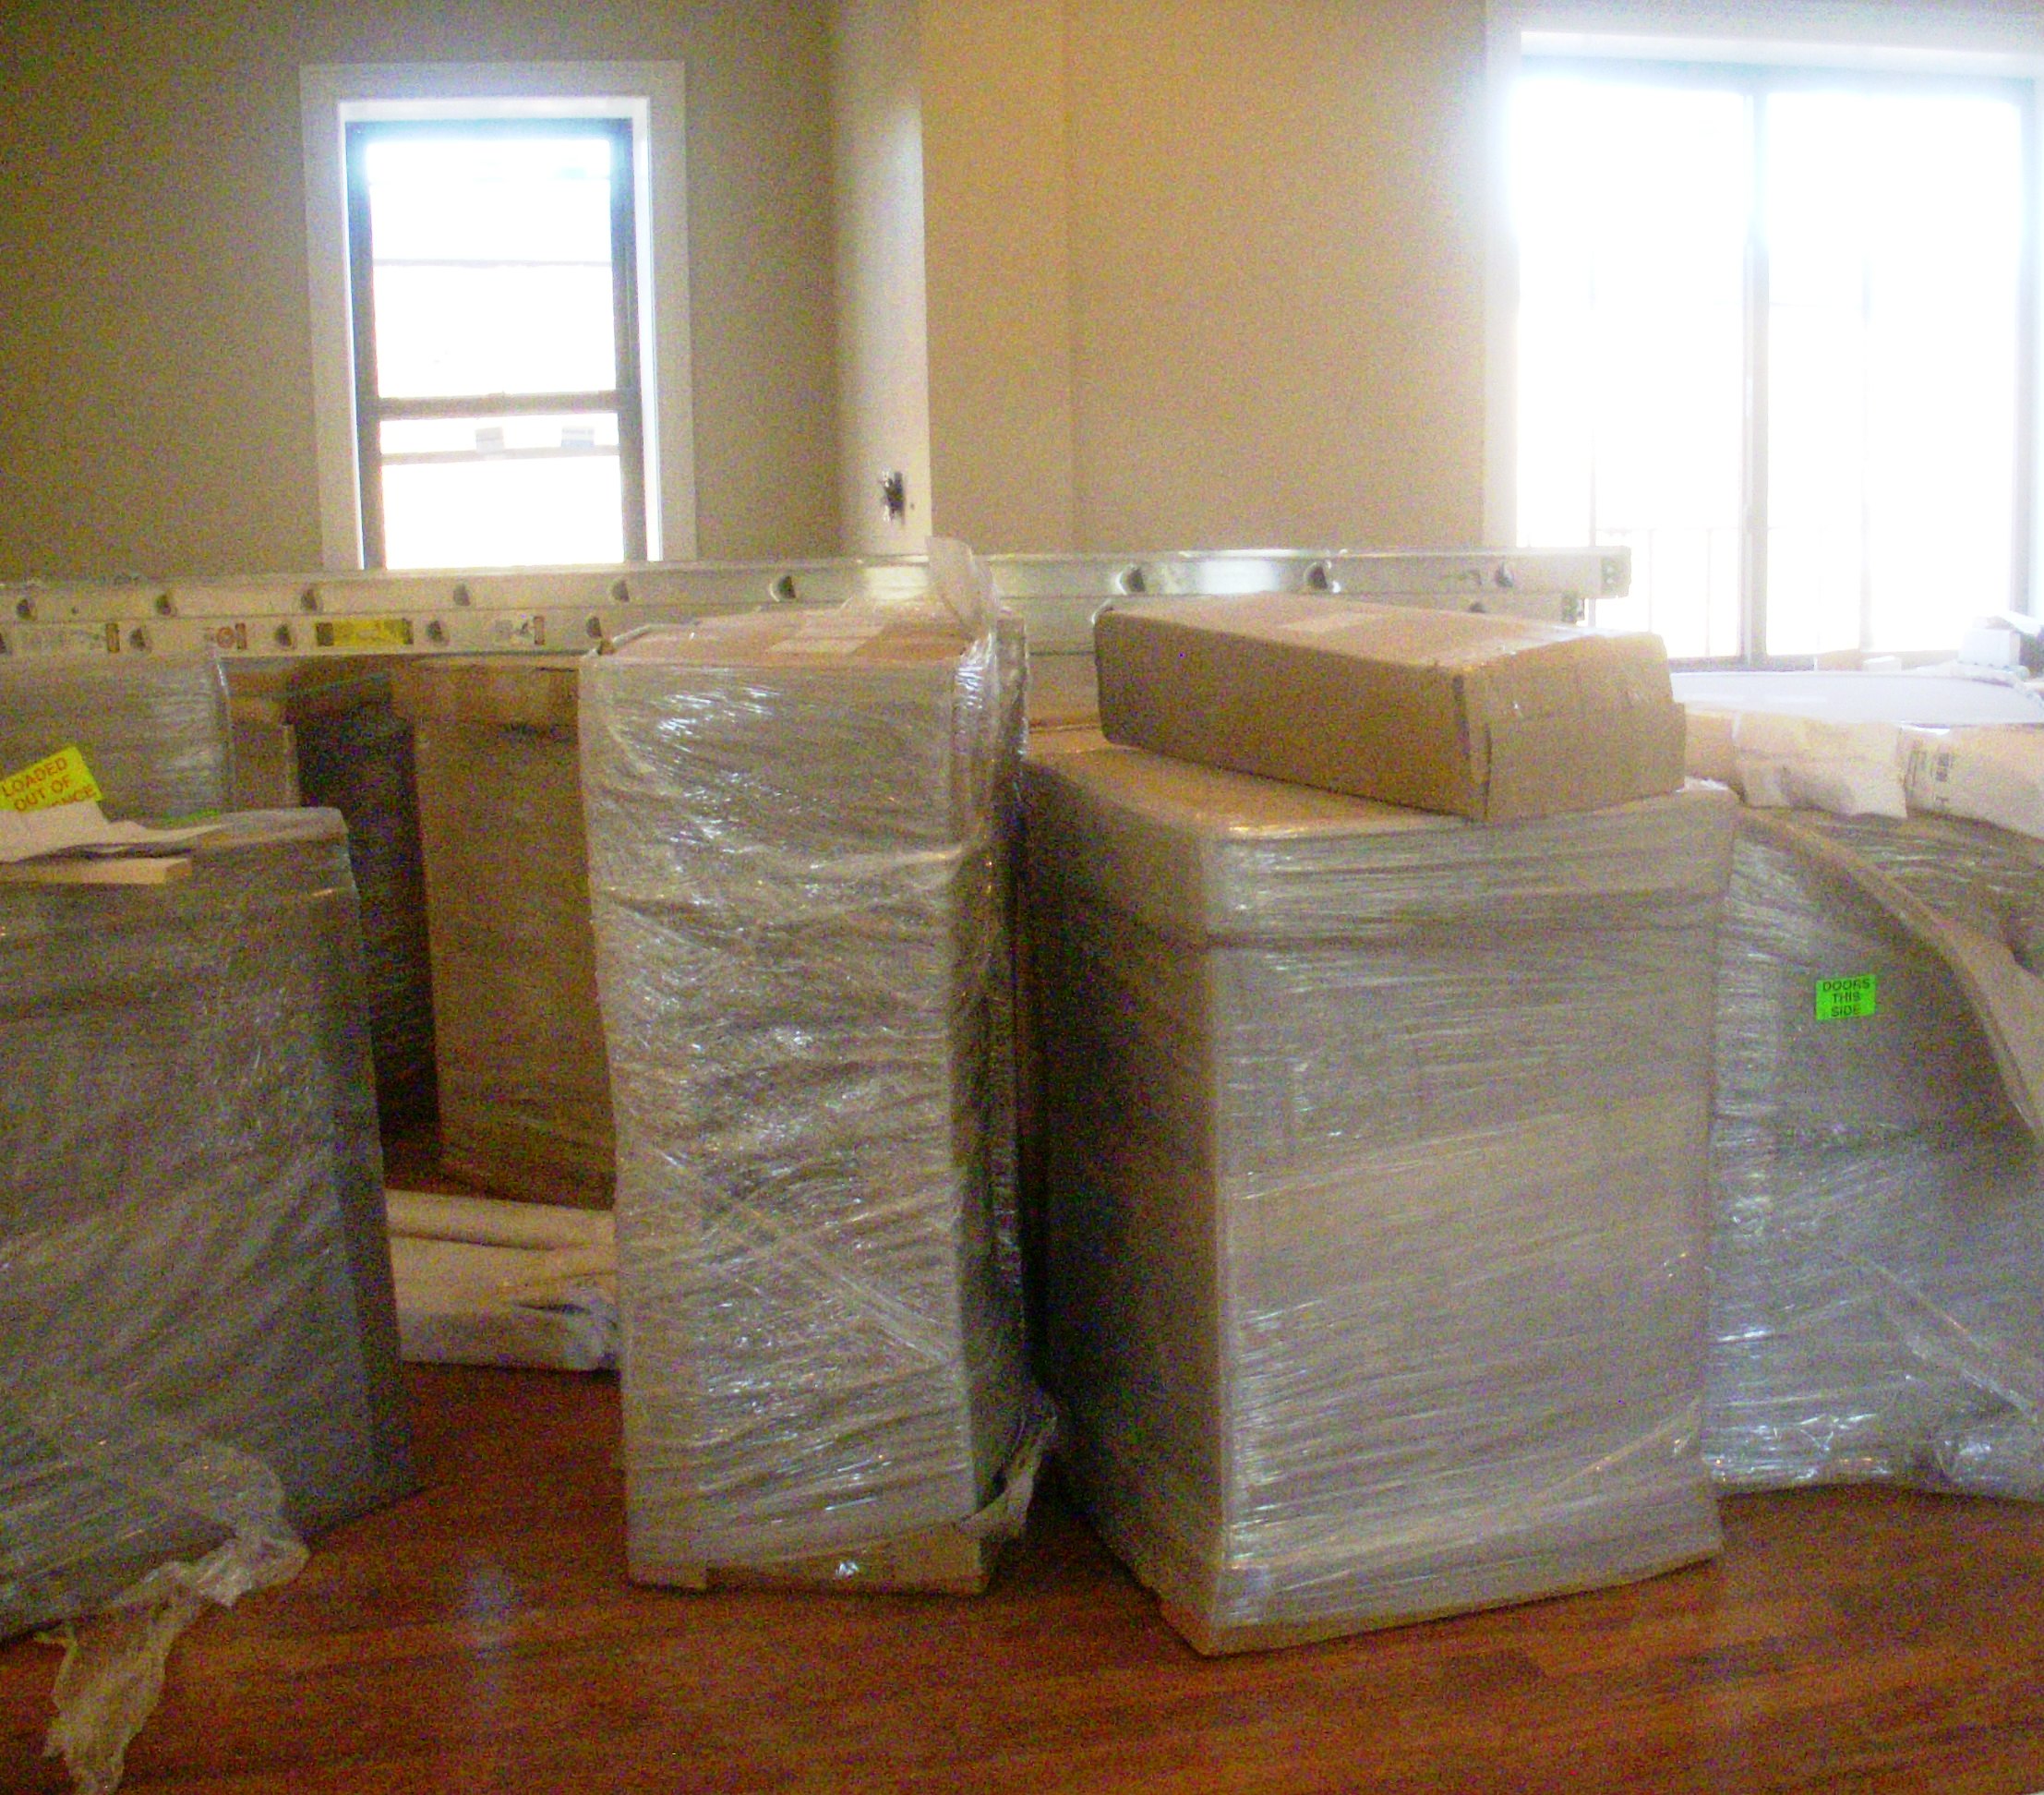
Each cabinet is wrapped to avoid damage during shipping.
2. Clean your Space:
The area you are installing should be clean - old cabinet removed, and hopefully, donated to places like Green Demolitions. Your old cabinetry could also be reused in the basement or garage. If there are appliances being reused, they should be out of the way, so to not get damaged.
I am often asked if the floor should be installed before the cabinetry. Personally, that is my preference. If you decide to install the floor after, all the cabinetry needs to be shimmed up to that finished flooring height anyways. In the future, if you ever decide to change your layout, you will have to install a new floor, or patch the existing one. Flooring must be installed underneath the appliances, or they can never be removed for service, once the counter tops get installed. If installing tile or stone flooring, there will be many tile cuts around the cabinetry, especially if installing the tile with a diagonal pattern. So why worry about those issues, when you can simply install the floor in the entire room?
3. Check for Uneven Floors
Draw level lines, preferably with a laser to check for levelness of the floor. Look for the high spots. It is generally best to start the lines at the sink base. The dishwasher can only be raised or lowered 1". If this area becomes to short the dishwasher won't fit. If it becomes too high, there will be a large gap underneath the counter top. If the counter top is to run into the bay window at the sink, then the cabinetry height must be set at this point. If it becomes too high, it is impossible for the crank of the casement window to turn once the counter top is installed.
4. Check for Uneven Walls
Next, check for the evenness of the walls. Corners many times have built up mud from the plaster. Check to make sure it won;t interfere with the cabinetry. The corner cabinets, such as lazy susans, have a diagonal notch in the back to accommodate for this.
For cabinetry that ends into a wall, filler pieces or extended stiles, need to be scribed into the walls. Scribes are also needed so drawers do not scrape the wall, or bang into an adjacent window sill.
Cabinetry that sits on the counter, such as an appliance garage, should be installed after the counter top for the best fit.
5. Moldings
Moldings are installed last. Some light rails covers the face frame of the cabinet, others get mounted underneath the frame. The wall cabinets and ceiling should be cleated in preparation for the crown molding.

Next step is installing the appliances. Ductwork, rough plumbing and
electrical should already be in place.
6. Appliance Panels
Appliance panels should be made to fit the exact specification of the appliance. Most panels slide in behind a flange after the handles are installed.
7. Final Steps
Touch up kits include a marker, putty and spray can, are included in every kitchen and can be used to touch up any nicks and fill the finish nail holes. Doors and drawers may need to be adjusted. They are straight when they leave the factory, but can move during shipping. Knobs and handles are installed to your preference. Using a jig will ensure a straight install.
How smooth was your kitchen install? Do you have a tricky area that needs to be looked at? Ask us a question - we can help you!