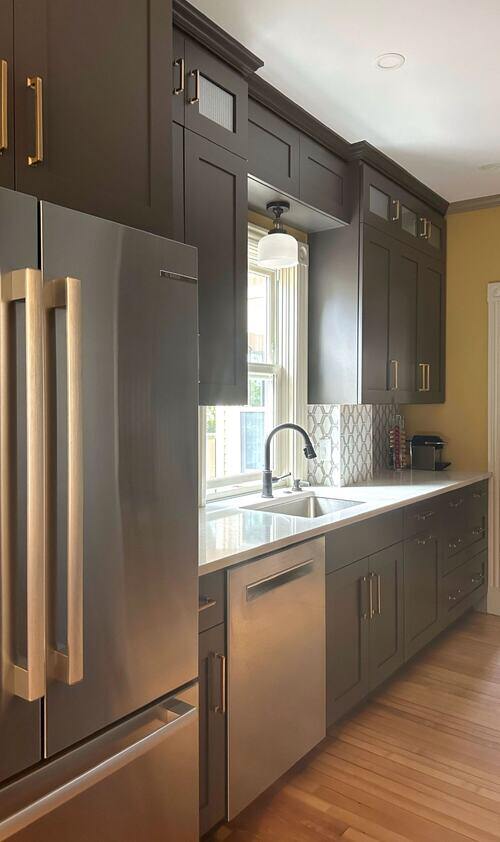
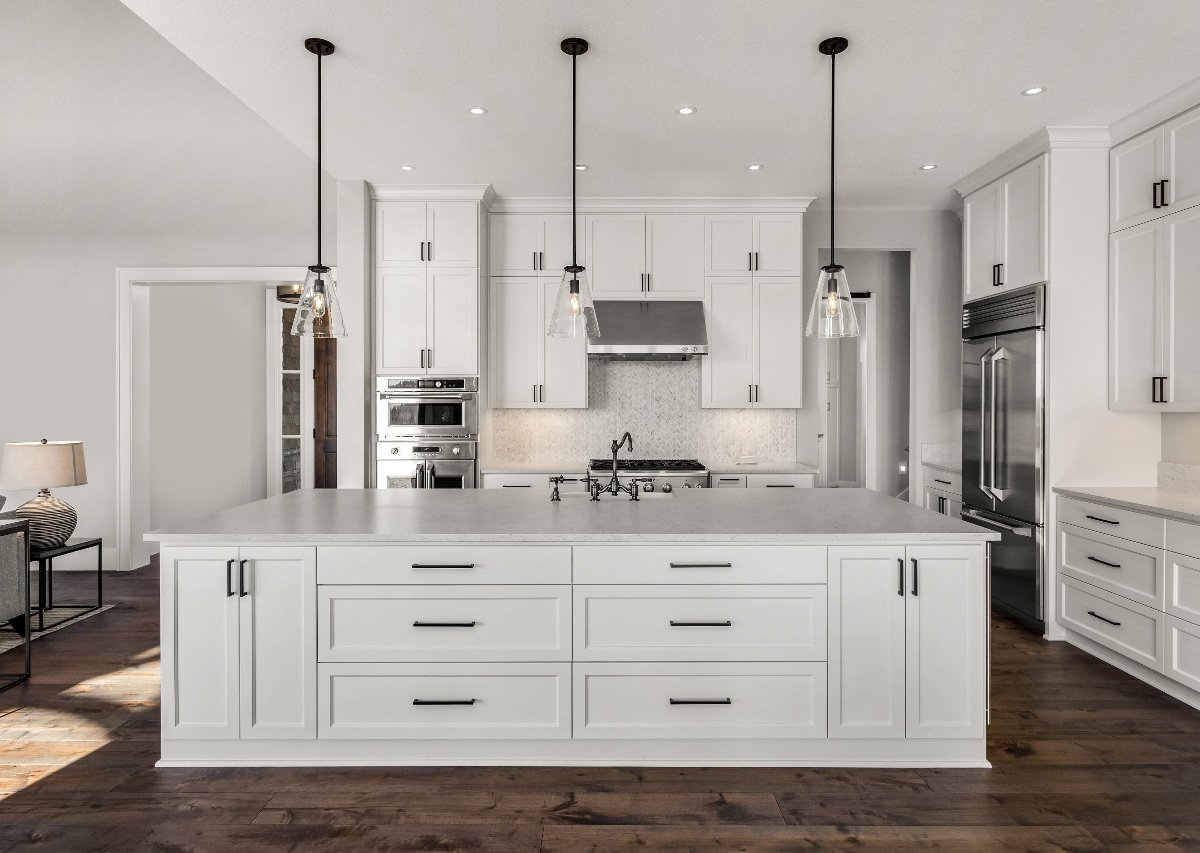
info@edesiakbs.com
 781.238.8800
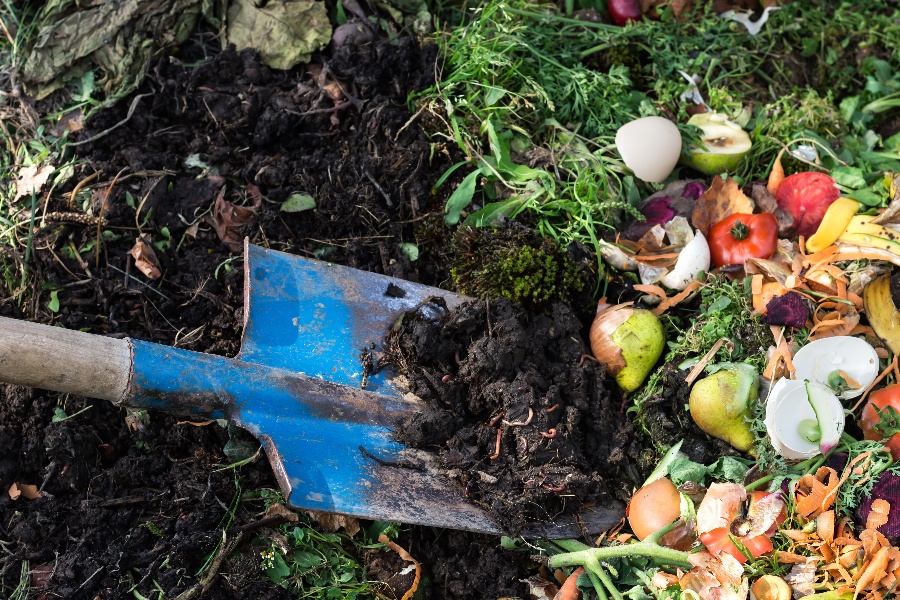
Composting is the ultimate way to avoid food waste. You can reduce your waste with efficient recipes and bone broth soups, but there will always be those stems and ends that tend to go into the garbage disposal. But why waste perfectly good organic nutrients when your garden could be benefitting?
By saving up your scraps and dry leaves, you can transform waste into rich, dark soil through the process of composting. All you need is a good understanding of ratios and a warm box in the backyard - or on the back patio. You don't even need a yard to compost, though you do need a bin of ample size.

How can you get started composting at home, and what can you do with the compost soil you create? Let's dive into the answers for home composting beginners.
1. Scrap Box and Compost Container
Start with a box for scraps and a much larger box for the compost pile itself. Your indoor bin should seal tight and be freezable. Your outdoor bin should be at least 1 cubic yard (3x3x3) large or bigger to allow the compost pile to reach a productive mass and heat. Decide a place in your back garden or patio where your compost bin will go. Some people use a rotating barrel, some bury their bin, and others simply create a heaping pile - but a contained bin is the tidiest way to get started.
With your bins ready, get in the habit of saving scraps. When you go to scrape off the cutting board, scrape it into a bin by your sink instead of the sink or trash. When you clip off vegetable stems or have non-meat organics left over after a meal, into the bin they go. However, you may need to build up some "green" mass, so consider a sealed container that might go into the freezer to prevent premature rot.
2. Getting the Layers Right: Greens and Browns
The magic of a compost pile is a formula you'll hear called "Greens and browns". You've got to get your layering of greens to browns correct for the compost chemical reaction to start.
Greens are your wet organics like vegetable cuttings and fresh lawn clippings. They don't have to specifically be green, just fresh and ready to rot.
Browns are dry and airy like dry leaves, wood chips, sticks, and fresh tree clippings. You can also throw in dry, plain cardboard and dry lawn clippings or straw. The purpose of browns is to provide layers that air can pass through. Without fluffy layers of brown, the composting heat cycle.
It's advised to balance more browns than greens in each layer. You hold onto your greens for a while to create a full layer. You may overflow with green lawn clippings in the summer and brown leaves in the autumn, which is why many composers keep a few bags or bins for holdover layer materials.
3. How to Turn Your Compost Pile
The compost needs to be turned. This recycles the materials, mixes the layers, and turns external materials inward to decompose. Expert composters use a long-stem thermometer and turn the pile at exactly the right point in the heat cycle. However, turning your compost pile every two to six weeks works as a rough estimate for any pile. Rotating barrel composers will have instructions on when and how much to turn.
If you are turning manually, use a shovel and/or pitchfork to fluff the pile as you turn it. Remember to maintain it as light and able to aerate, turning outer compost toward the center as you flip the layers with your pitchfork.