info@edesiakbs.com
 781.238.8800
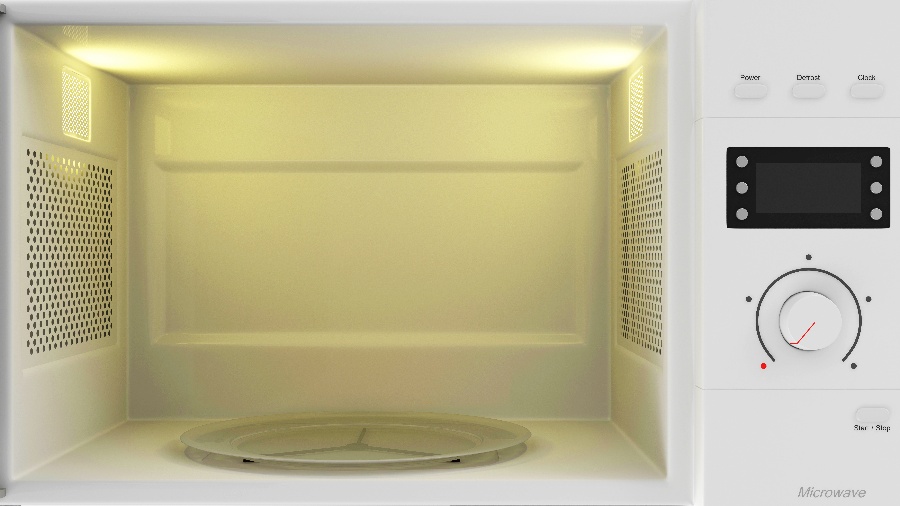
There is something mesmerizing about watching your food spin slowly in the microwave, under the gleam of the interior microwave light.
More importantly, we use that little light to tell when the food is done; whether the butter is melted or the oatmeal is about to boil over. So when the light goes out, you lose both information and entertainment. Fortunately, many microwave lights can be changed with just a screwdriver, a replacement light, and a little elbow grease.

Here at Edesia Kitchen & Bath Studio, we love to help homeowners reinvent their spaces with tile, cabinetry, and new appliances, But you can also take charge with the little DIY projects that keep your new kitchen design as pleasing as the day you designed it. One of those issues is being able to replace the oven or microwave light without waiting for a technician.
Here's how to do just that:
The 2 Ways to Change a Microwave Light
Inside the Compartment
If your microwave light can be accessed through the compartment, you're in luck. This is the less complex approach to change this in-set light bulb. Check out the steps to complete this repair.
- Find the Cover
- Identify where your microwave light cover is located. Examine and look at it closely. Determine if there is an accessible clip or screw top facing the inside of the microwave.
- Remove Cover Screws or Clips
- When you find the fastening mechanism, remove it. If there are screws, extract them with the correct driver. If there is a clip, pinch or press it to release. Take the cover down and set it aside with the mounting screws.
- Replace the Light Bulb
- Carefully unscrew the small light bulb and throw away the old one. Install the new bulb and make sure it sets in place without overtightening.
- Return the Cover
- Install the light cover back into place. Fit it into the slot, press until any clips latch, and return the mounting screws.
Inside the Cabinet
Other microwaves do not have the light bulb accessible from inside the compartment. Instead, you'll need to access the light bulb from inside the cabinet, which involves unwrapping your microwave. Here's the process step-by-step:
- Remove Back Panel Screws
- Turn your microwave around and remove the back panel screws around the perimeter. Set the screws aside.
- Peel Outer Metal Cabinet
- The outer cabinet is made of thin, flexible metal. Pull it away from the secured edges until it comes loose and then clear of the rest of the microwave. There may be additional screws around the lower edge of the microwave.
- Find the Light Cover
- Now locate your internal light cover. This is the compartment that shields the light and holds the light socket. You may need to consult the manual.
- Unscrew and Remove Light Cover
- Remove any mounting screws or bracket and then pull back the internal light cover.
- Replace the Light Bulb
- Carefully remove and discard the old light bulb. Then install the new light bulb, being sure not to over-tighten.
- Return the Cover
- Install the cover back into place and return the mounting screws.
- Reassemble the Microwave
- Fit the outer cabinet back onto the microwave, then return the mounting screws around the bottom and along the perimeter of the back panel.
Changing your microwave light might be easy or challenging, depending on the type of microwave you have. If you are handy and confident, tackle a microwave light replacement on your own. This is a safe and quick repair that can return your microwave to pleasant functionality.
For more cool kitchen tips or to plan a much bigger kitchen improvement than just replacing a lightbulb, contact us today. Edesia Kitchen & Bath Studio will be honored to bring your vision to life.