info@edesiakbs.com
 781.238.8800
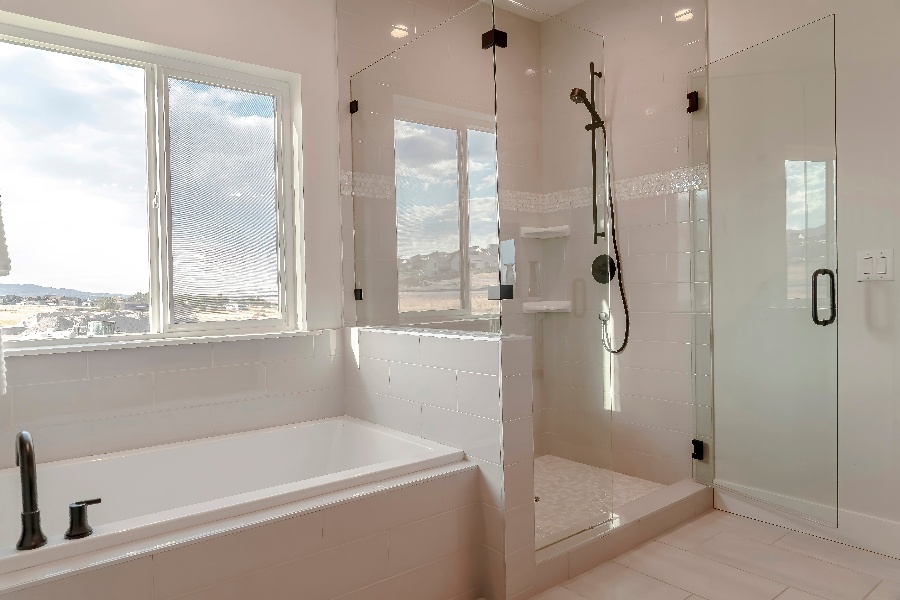
Frameless glass showers are the airiest and elegant of bathroom shower designs. They have no fixtures or frame, and end only in a nearly invisible green-tinted edge.
Frameless shower glass rises gracefully from the wall and floor, making bathrooms look more modern, sleek, and spacious. Your glass can go to the ceiling or simply stop with no visual interruption to allow steam to escape.
But how are frameless showers installed? Whether you are considering a DIY project or hiring a pro, here's how frameless glass is carefully secured into a shower enclosure, step by step.
Step 1: Preparing the Space for a Frameless Shower Install
Any new installation should start in a clean and prepared environment, In the bathroom, this can mean scrubbing and then wiping down all nearby style, gently cleaning nearby drywall, and clearing away any shower shelves or racks that were previously placed. If you have been renovating, you will need your tile to be 100% finished with the grout fully dry.
Step 2: Precise Measurements and Markings
Frameless shower glass installation begins by taking very precise measurements of your shower area. Typically, our installation technician will identify the lines along which the glass will be installed to discover the exact length, width, and height for each panel of glass. We will also determine if your wall is plumb - straight up or at a slight angle - so as to perfectly match the glass to the space.
This measurement process is exact, and is also how we determine where to put each bracket or hinge for installation. This is a good time to mark the wall so that drilling later can occur exactly where measurements were taken.
Step 3: Fabricate the Custom Glass Exactly to Measure
When the measurements are complete, you will need to take them to a custom glass fabricator. This is one reason that DIY installations can be more tricky than expected. For frameless showers, there's no margin for error. The glass has to form a water-tight seal so the spacing and sizing must be precise. This means that prefabricated panels won't do. All frameless glass shower enclosures are custom-made.
An established glass company can fabricate the panes and install them for you, whereas you will need to seek your glass fabrication solo for a DIY project.
Step 4: Install the Brackets, Hinges, or Slide
With the glass ready, it's time to install the minimal hardware that will hold your frameless glass shower in place. This is often done with small brackets that hold the glass to the wall and to the other panes of glass. Before the glass arrives, you want to use your precise measurements and any wall markings to prepare the securing brackets.
Install the hinges or sliding rack for your glass enclosure door in exactly the right place in the finished wall. This may require drilling into things like tile, drywall, or masonry. It's critical to ensure that the hinges and the fixed glass clips (for unmoving glass panels in the enclosure) are well anchored to the wall and in the exact place. Otherwise, it can create excess tension on the glass and cause it to break.
Step 5: Carefully Mount and Secure the Glass Panels
It takes at least two people to carefully carry in a frameless glass pane and install it precisely on the prepared hardware. Remember that undue tension is dangerous, so the glass must be perfectly even and balanced in the bracing. The enclosure must then be finished with each pane secured and providing structure for the others. The glass must be perfectly placed to form a seal between panes and with the tile along the floor and wall.
With the panes secured, tighten your hinges and brackets until everything hangs at exactly the right tension and alignment to be fully secure.
Step 6: Add Seals and Sweeps to Keep Water In
Of course, a shower door made of glass doesn't form a water-tight seal on its own. That's what seels and door sweeps are for. Seals are small rubber ridges or flaps that attach to either the door or the space it closes into. The door sweep goes at the bottom, and sweeps water so that no water escapes when the shower door is closed. Nearly invisible seals and sweeps - including clear plastic, can be used to improve the ephemeral loveliness of a frameless shower.
Step 7: Apply Watertight Silicone Caulk
To seal the rest of the enclosure, our technicians use a silicone caulk. This is a clear caulk made of silicone gel - similar to plastic but both clearer and sturdier. The silicone will form crystalline yet rubbery seal between the glass and the tile, and between stationary glass panes. You will need to draw a heavy bead of silicone around every touching edge of the glass enclosure and where glass meets tile. This will ensure that no little splashes from the shower escape and soak your bathroom floor.
Step 8: Clean and Polish the Glass Enclosure
The final step is to clean and polish the new Baytown shower glass installation so that it gleams and is beautiful Here at Joey's Glass Company, we always polish the final product to a gleaming shine so that homeowners can see the full splendor of their new shower installation. If you are installing the glass for yourself, don't forget to wipe it to a streak-free shine and sit back to admire the style and grace.
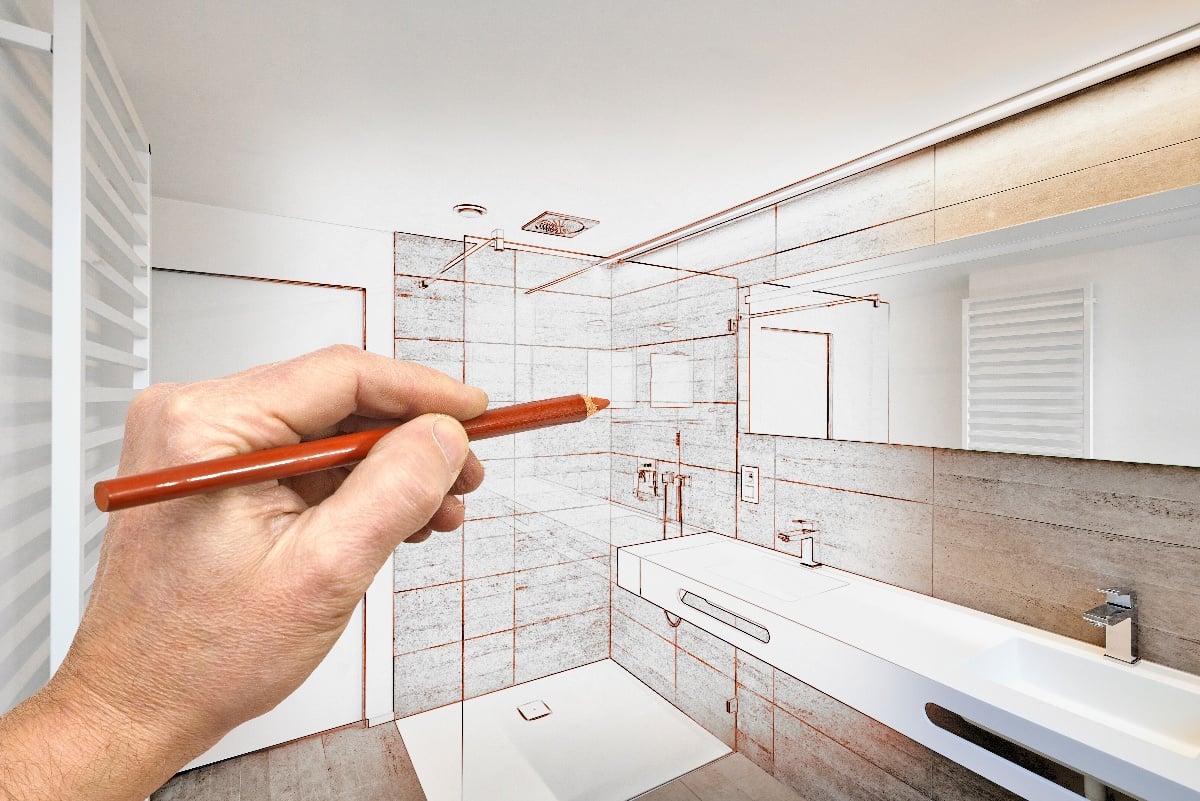
Transforming Your Bathroom with a Frameless Glass Shower
Everyone should be free to fix their own sinks and retile their own backsplashes. But perfectly measuring and then delicately suspending large panes of glass may not be in your wheelhouse. When you're ready to renovate your bathroom, Edesia is here to help with every stage that you want to tackle with more than elbow grease on your side.
Contact us today to speak with our designer builders about the possibilities for an elegant frameless glass shower enclosure as part of your beautiful bathroom remodeling project.