info@edesiakbs.com
 781.238.8800
Remodeling your kitchen will not only improve its aesthetic quality but also increase its value.
It's, however, a sensitive aspect in home improvement such that if you make some mistakes, you risk running into problems like having countertops and cabinets that core kitchen appliances can't fit in well, among other issues.
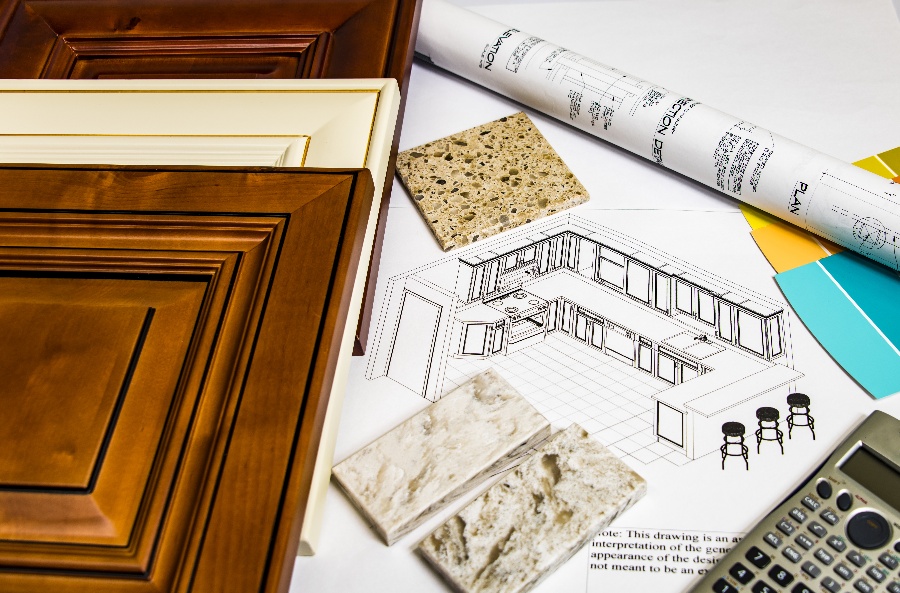
In this quick guide, we'll walk you through the steps in a Kitchen Upgrade.
Steps for Kitchen Remodeling
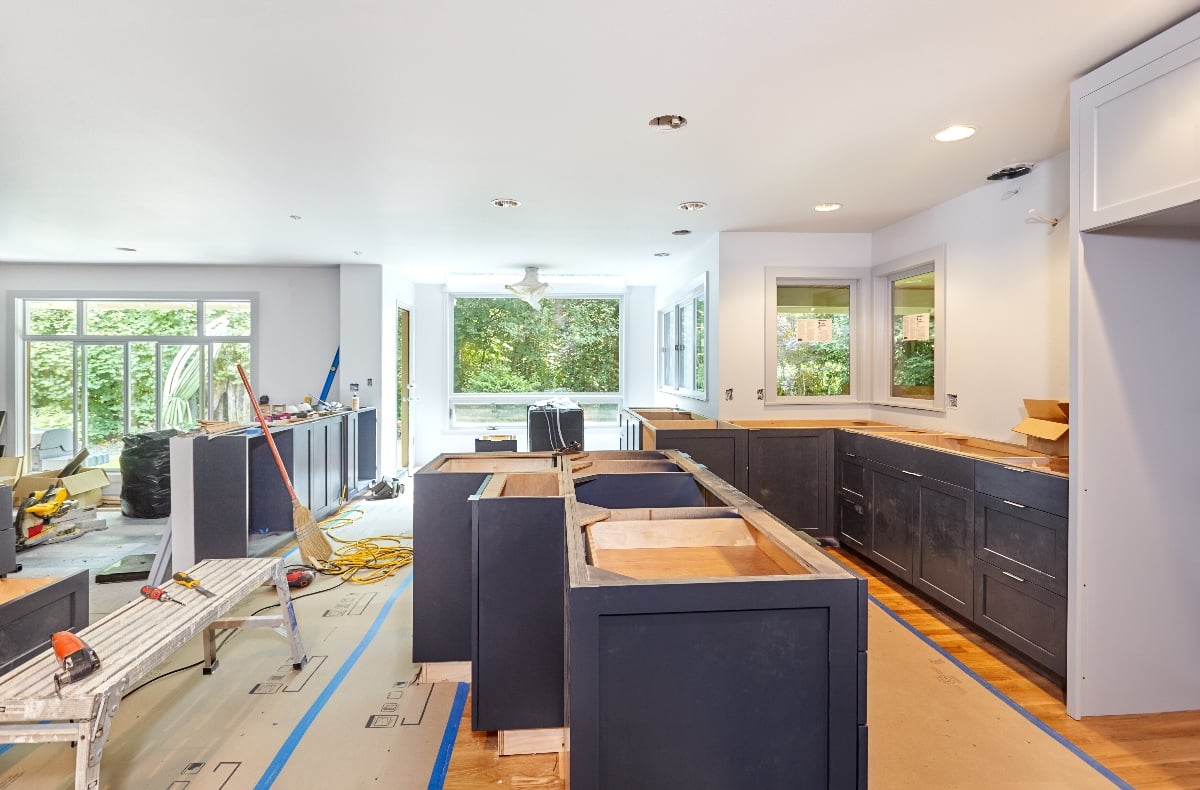
1. The Demolition Phase
In the demolition step, you'll need to clear everything with little value or those you don't wish to keep.
You can let experts do this for you, but if you want to DIY safely, ensure that you shut off and unplug all the lighting fixtures and appliances before removing them.
Unscrew the cabinets from walls and use knives in removing moldings and trims from the wall. Remember to cover all the exposed wires.
2. Replace Old Kitchen Framing and Plumbing Work
In this step, your focus will be on replacing the older plumbing now that everything is left open. Considering that the older pipes could be brittle and leak easily, have a few buckets just in case you run into leaks.
If your under-sink plumbing was galvanized, replace it. You may also run another gas line if you were using an electric stove. Consider replacing the shutoff valves as well.
3. Electricity and Lighting Upgrade
Electricity and lighting upgrade is can be complicated, and the kitchen must be inspected first.
Your city code department should let you know the requirements for halogen bulbs, incandescent, and fluorescent, among others, if you'll need any of them for the remodeled kitchen.
Your electrician should also let you know if you should upgrade the circuit breaker box to 200 amps as well.
4. Hanging the Drywall
You can do this on your own after upgrading plumbing and electricity. Here's how to drywall;
Take a 48" measurement from the first stud to the corner then transfer it to the drywall. Draw a straight line using 'T' square then use it to cut along this line. Break the drywall then use screws to fix it to your wall.
Do not drill the screws very close to the edge to avoid cracking it. Leave approximately 1/2" space at the edge of the drywall and screws. Finalize by taping the seams and mudding the wall.
5. Painting
If you're going to DIY this step, get high quality semi-gloss paint, tape, extensions, an angle brush, rollers tarps, and others that you think you may need.
Do the painting before installing cabinets, and make the walls ready for painting by cleaning the walls, sanding if required and fill any open holes.
You can touch up the paints after installing your cabinets.
6. Kitchen Flooring
There are a lot of flooring options you can choose depending on your preferences, for example, the ceramic tiles and bamboo flooring.
Most homeowners prefer ceramic tiles because of the variety they bring in terms of sizes, colors, and design.
The bamboo flooring is also famous because it's cheaper, available in both vertical and horizontal patterns, and easy to install.
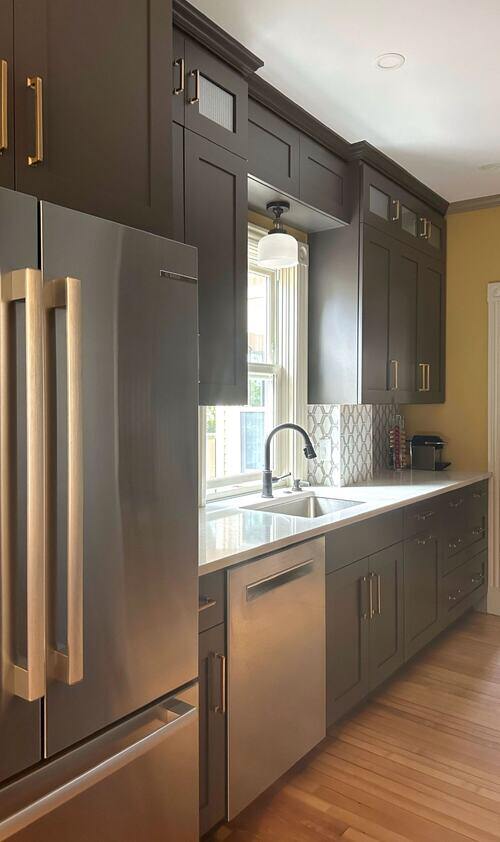
7. Cabinet Installation
You can have a professional installer do this for you. Most homeowners, however, find this easy so you can do it on yourself too.
To get started with this, mark the walls, find the studs, then mark their locations behind the cabinet then drill four holes into the cabinet from behind. After that, use cabinet jack to hold it level as you fasten it on the wall studs using finishing washers and 2½" drywall screws.
Repeat this step for all cabinets. Use 1¼" screws to fasten all the aligning cabinets together and do the same for the base cabinets too. Your base cabinet should be aligned on the floor according to the floor plan. Finish up by screwing all the base of cabinets to your wall studs.
8. Countertop Installation
These components are generally fragile and challenging to handle. Because of this, most manufacturers or delivery personnel will handle this step for you.
If your vendor doesn't do the installation, though, you'll have to find only licensed contractors to do it for you.
9. Install Kitchen Backsplash
If you're using the same material for the backsplash as the Countertops, the installers will install it at the same time with the countertops.
However, if you want to use a new material, you will have to wait for some time so the countertop can settle before installing backsplash.
10. Install Appliances
This is the final step in kitchen remodeling. Considering the fact that the pieces you will use here are also fragile, heavy, and difficult to handle, especially that they may require gas hookups and some electrical configurations.
You'll need to have a licensed remodel contractor to handle this step for you as well. Celebrate your new look kitchen!
Wrapping Up
A kitchen upgrade is simple, but doing it without knowing the costs can bring in some unpleasant surprises. The cost of a Kitchen upgrade in 2020 is around $30, 000.
Be sure to do some background research on the materials you need and know your kitchen size before splashing the cash.
Want to get started with kitchen remodeling? Contact us today for a free in-home appointment.