info@edesiakbs.com
 781.238.8800
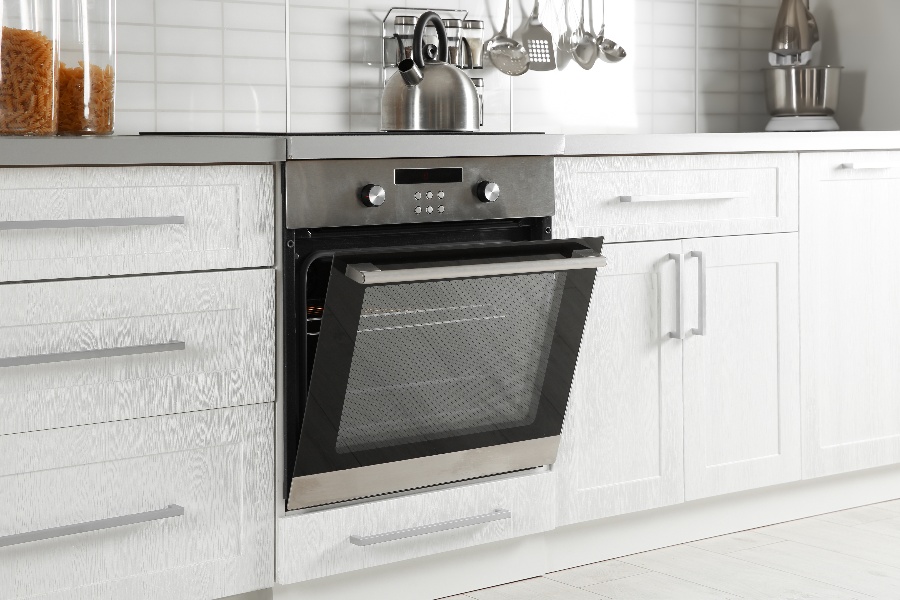
Baking is a wonderful way to enjoy your kitchen, but ovens are hard to clean. This is something we all know, often from experience.
Not only do things like pizzas and snacks drip onto the racks and the element and the bottom of the oven - but then they bake to an impenetrable crisp. Many ovens have a small unscrubbable pile of crisp at the bottom that can't be moved even by the most diligent scrubbing.
Fortunately, the self-cleaning feature can blast away anything organic or even partially organic into dust. Of course, it also involves extremely high heat. Using the self-cleaning feature needs to be done correctly, and that's what we're here to help with today.

Here's how to self-clean your oven whether it's a brand new installed appliance or an oven from a previous kitchen era.
Getting Ready for Oven Self-Cleaning
Give Yourself Two Days
Start by giving yourself two days. We often advise that chefs don't self-clean the oven just before a big meal like Thanksgiving or Christmas, because self-cleaning can reveal or create problems in a poorly maintained oven. And most home ovens go unserviced for most of their lifespan.
Self-cleaning can potentially cause your oven to error or create fumes from residual cleaning products - issues you'll want time to fix before a big meal production. So give yourself two days or more before you'll need the oven again before self-cleaning.
Don't Use a Chemical Oven Cleaner First
The next thing to remember before starting is not to use chemical oven cleaners ahead of running the self-cleaning function. Self-clean heats your oven to over 800 degrees Fahrenheit. This creates a special risk of fumes, especially if there is residual oven cleaner inside the oven.
Chemical oven cleaners are extremely strong chemicals meant to break down the baked-on residue. It's so strong that you should use eye, nose, and mouth protection when using it.
Fortunately, you shouldn't have to use oven cleaner if your oven has a self-cleaning function. Stay away from the serious chemicals before you run the self-cleaning function.
Check the Power Connection
Make sure the power is solid before you up the wattage on your oven for the self-clean. If you can access the plug or wiring, just give it a quick visual check.
Better safe than sorry when it comes to tasks that involve a great deal of electricity and household appliances.
Prepping the Oven for Safe Self-Cleaning
Clear Out All Pans and Foil
Don't self-clean your pans. If you tend to leave pans in the oven for re-use or store pans in the oven, remove them. If you keep foil in the oven or have wrapped the racks in foil, remove it now.
This will prevent anything that is not able to withstand 800-degree temperatures from smoking or catching fire during the self-cleaning process.
Remove the Oven Racks
It is also often recommended that you remove the oven racks, as these are not always made with metals designed for self-cleaning temperatures.
In fact, self-cleaning is one of the leading causes of oven racks that warp and bend. Keep your oven racks flat by not self-cleaning them. Instead, use this opportunity to soak and scrub them instead.
Sweep Out Loose Debris
Now you're getting ready for the oven to clean itself. The next thing to remove is the crud at the bottom of the oven. You don't have to scrub it, but you should remove anything that can be swept out.
Protect your hand with a glove or cloth and prepare something to catch the crumbs. Sweep the burnt debris forward and knock it loose (gently) from the element. The more of this you can get out before the self-cleaning, the better.
Wipe Out Puddled Grease or Cheese
If there is anything liquid in there or still sludge, pull it out with the same method. Dripped and puddled grease can be dangerous in an oven and it can drip from roasts or quickly toasted pizza.
The same with dripped but not-yet-charred cheese. Anything in the oven that is still liquid, sludge, or flexible, use paper towels or cloths to remove as much as possible. Using a light cleaning solution like dish soap or surface spray is safe to use during this stage.
Self-Cleaning Your Oven
Lock the Oven Door Closed
At long last, you're ready to get started. Close the oven door, with the oven devoid of racks or pans, then throw the lock. This is usually a large lever along the top or side that creates a latch.
In newer ovens, there may be a button or switch that engages the larger hidden latch. For many ovens, the self-cleaning function will not engage unless the door is locked. This prevents anyone from getting hurt while the oven is dangerously hot.
Check Your Carbon Monoxide Detectors
Because self-cleaning can sometimes create unexpected gasses from materials cooked inside the oven, it's important to have your carbon monoxide and dangerous gas detectors active in the home.
Most homes should now have one or two placed in outlets near the floor, as carbon monoxide and similar gasses tend to fall instead of rising like smoke. Confirm they are powered and operational.
Initiate the Self-Cleaning Cycle
Finally, you can and should start the self-cleaning cycle. Go through your oven's process to initiate, set, and begin self-cleaning. This can take anywhere from one hour to five hours, depending on the oven and how much there is to burn away.
This will seriously heat up your kitchen as well, so either plan to self-clean on a cold day and give the home heater a break or plan to be out of the house somewhere cooler for a few hours and turn off the AC in the meantime so as not to over-tax it.
After the Cleaning Cycle
Let the Oven Cool
When the self-cleaning cycle is over, give your oven at least one hour to cool before approaching and unlocking. This is vital.
With the oven getting so hot during the cleaning, it's worth avoiding risk and keeping hands safe from extreme danger to give your oven an extra hour cooling while locked.
Sweep the Oven and Return the Racks
When everything is clean and safe, open up your oven and let it air out. Use a cloth to sweep out the layer of ash at the bottom - everything that baked to dust during the self-cleaning. Then return your oven racks and your oven is good-as-new.
---
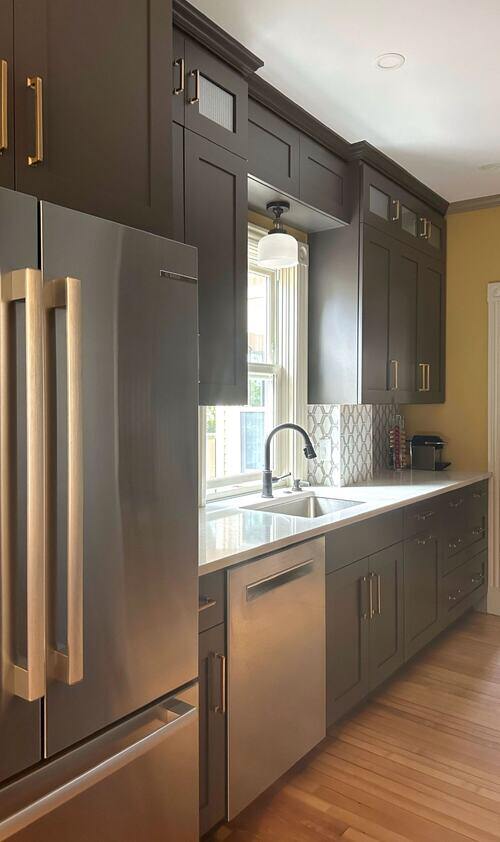
Understanding your kitchen is the best way to enjoy it. If you're planning a kitchen remodel with a new oven, or building around your favorite oven, contact us! We look forward to making your kitchen renovation ideal.